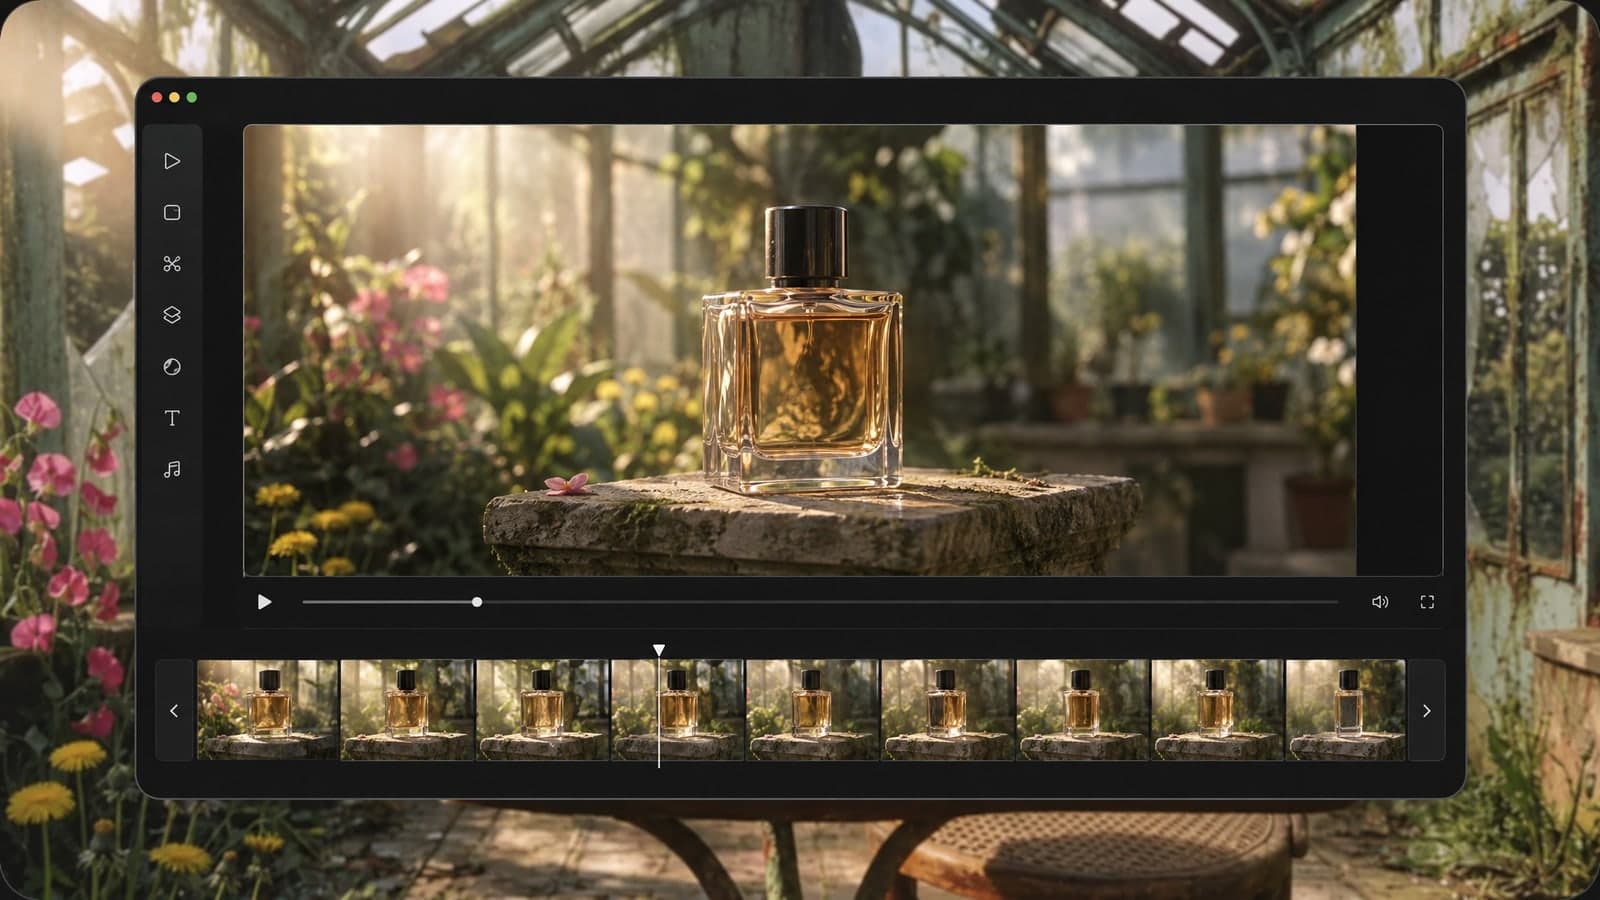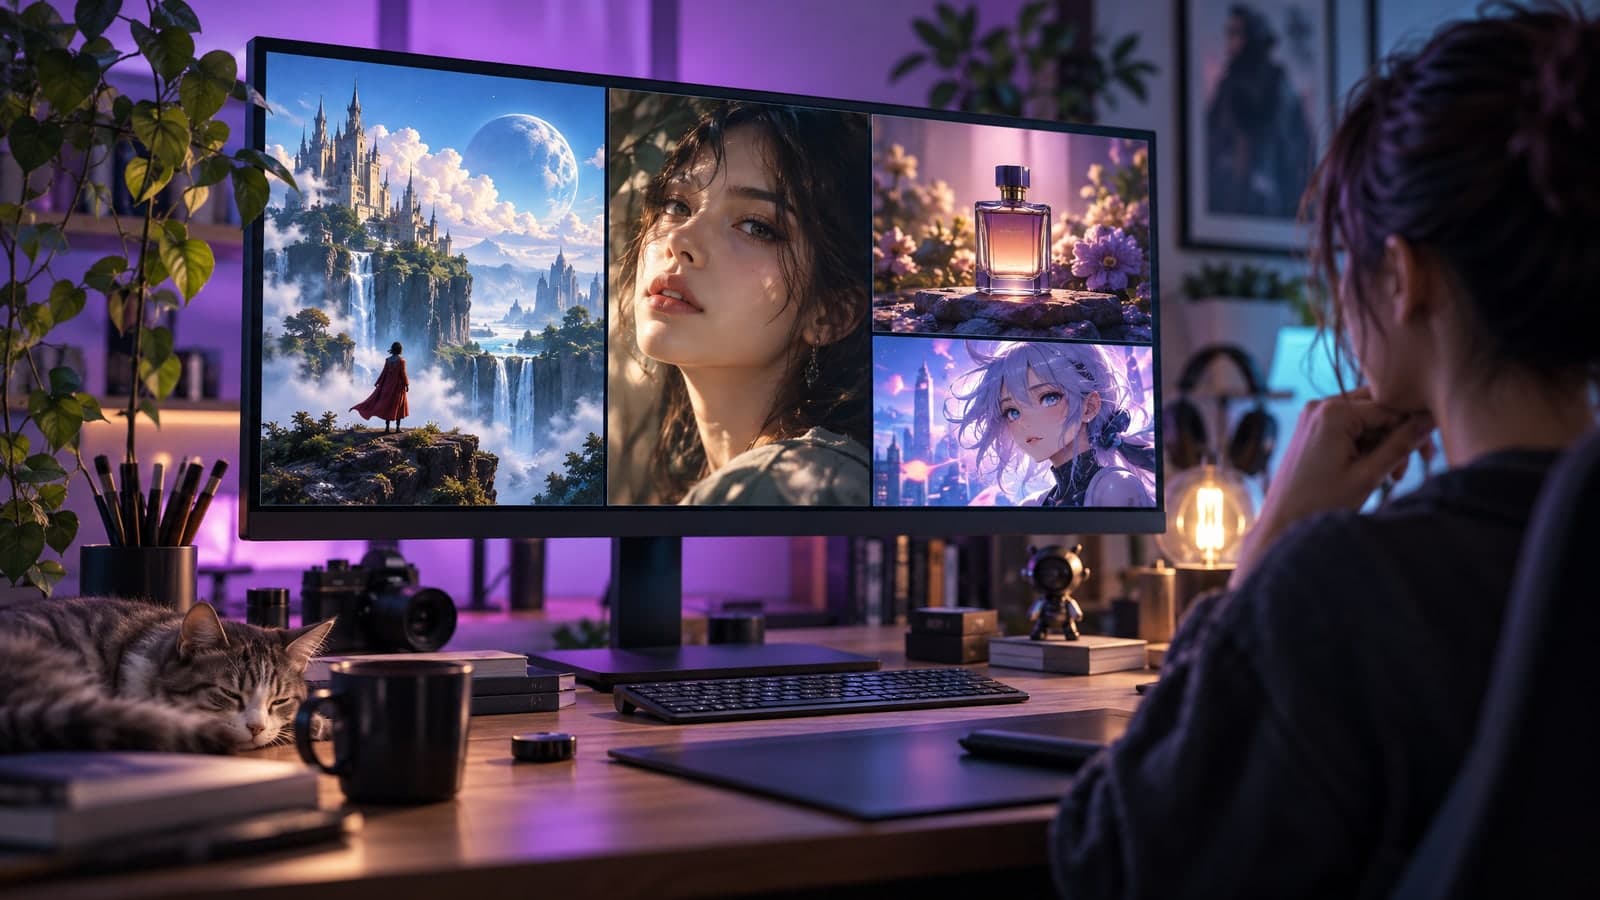
Most people can spot an AI image in a second. The skin is too smooth, the light comes from nowhere, and everything looks a little too perfect. The good news is that a few habits fix most of it. With a realistic AI image generator and the right prompt, you can make images that look like they came out of a real camera.
This guide covers how to write prompts that read like a photographer's notes, when to start from a real photo, and how to fix small details without starting over.
Why some AI images look fake
Before fixing anything, it helps to know what gives an image away:
- Light with no source. Real photos have light coming from somewhere: a window, the sun, a lamp. Fake-looking images are evenly lit from every side.
- Surfaces that are too clean. Real tables have scratches, real fabric has wrinkles, and real skin has texture.
- Style words in the prompt. Words like "illustration," "3D render," "cartoon" or "digital art" push the result away from a photo.
- Too much going on. A prompt that lists ten objects often produces a cluttered scene that no photographer would shoot.
Write the prompt like a photographer
The most reliable way to get an AI realistic image is to describe the shot the way a photographer would. Cover four things:
- The subject. What is in the photo, as specifically as you can say it.
- The place. Where it is, with one or two real details.
- The time and the light. Morning window light, an overcast afternoon, golden hour, a single desk lamp.
- How it was shot. Close-up or wide, eye level or from above, shallow depth of field.
A simple prompt formula
Put those four parts into one sentence:
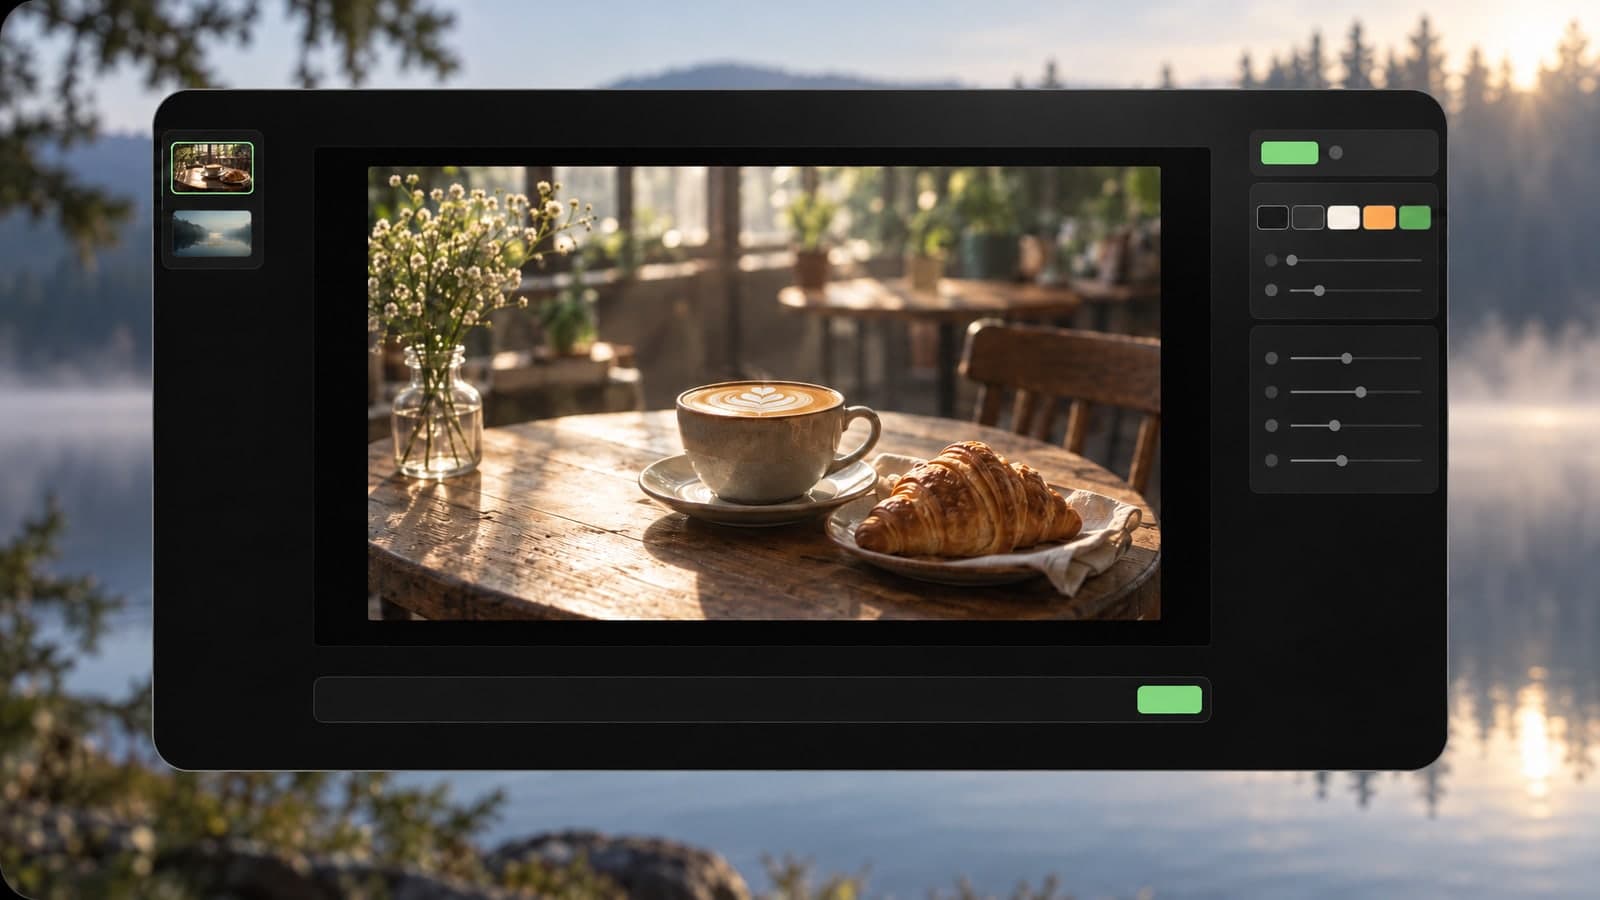
"A ceramic mug on an oak table, morning window light from the left, steam rising, shallow depth of field, close-up at eye level."
That prompt has no style words and names a light source, so the result reads like a photo. You can paste it into the image to image AI tool as it is and adjust from there.
Start from a real photo when you can
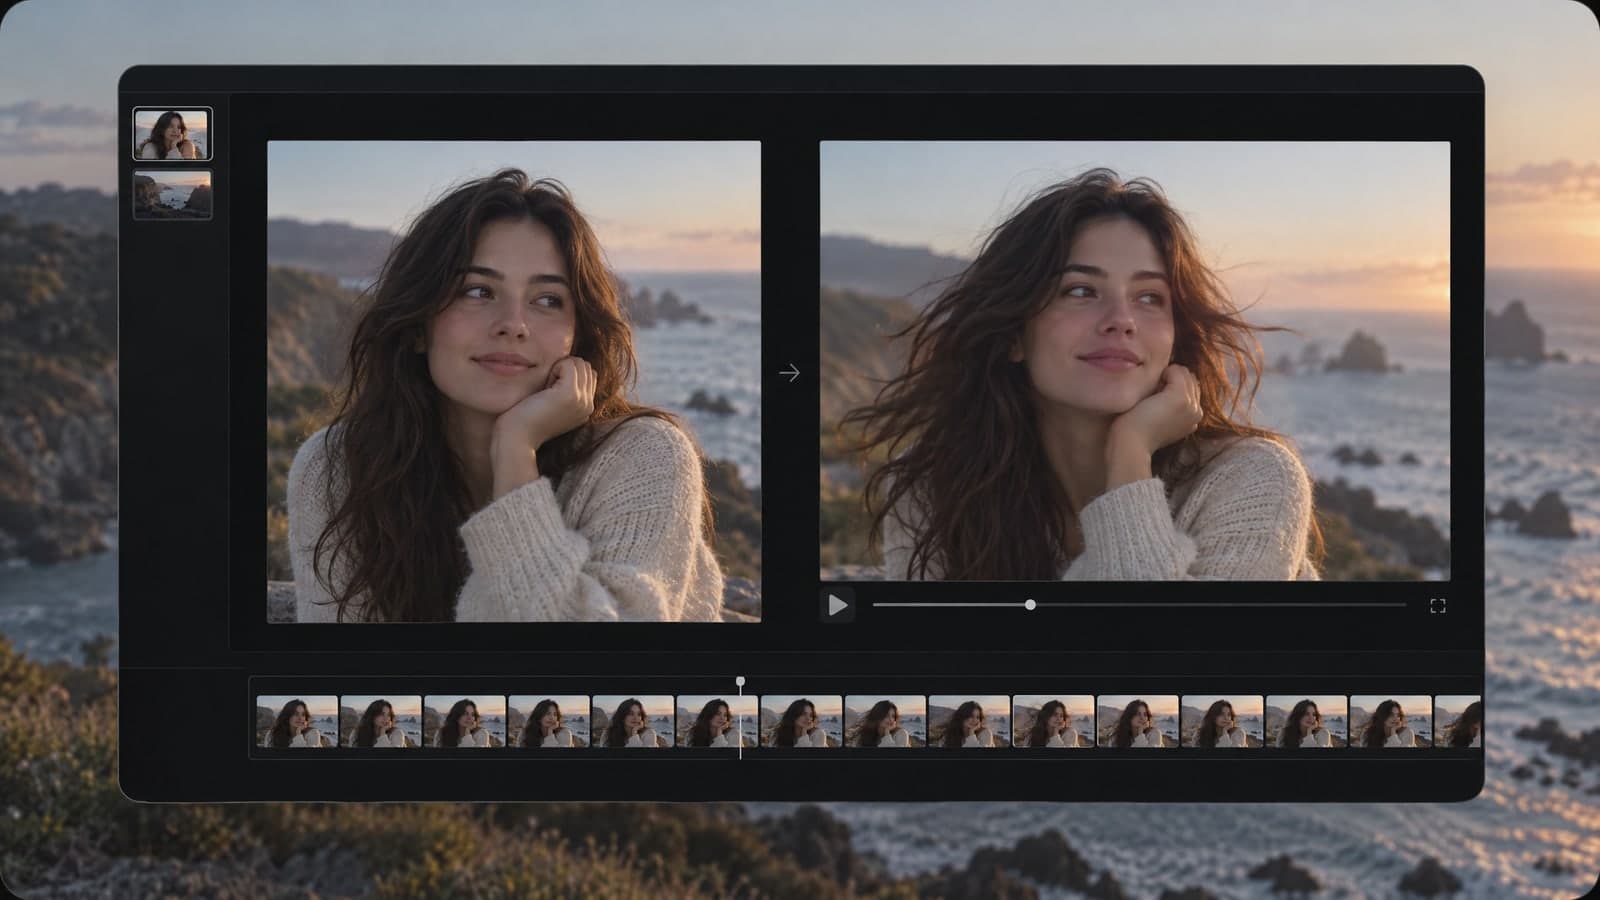
Text-only prompts are great for exploring ideas, but starting from a photo you already have is the fastest way to keep things real. The AI uses your picture as the base and changes only what you describe, keeping the parts you did not mention, such as a face, a product or the layout of a room. That is the real advantage of an AI image generator from image over text alone: the details that make a photo believable are already there.
You can upload up to 4 reference images per generation in JPG, PNG, WebP or iPhone HEIC format. That opens up some useful combinations:
- Put a product from one photo into a background from another.
- Keep a person's look while changing the setting around them.
- Brighten a dull shot and add shadows that look natural.
Only upload photos you own or have permission to use. Want to try it with one of yours? Upload a photo and edit it with AI.
Pick the right shape before you generate
A realistic photo also needs a realistic frame. Choose the aspect ratio that matches where the image will go: 1:1 for product listings, 9:16 for stories and reels, 16:9 for banners and thumbnails, and 3:2 or 2:3 for a classic camera look. Auto follows the shape of your uploaded photo, or makes a square image when you start from text.
Fix details one at a time
Even a strong result can have one thing off: a reflection in the wrong place, a label that is not quite right, a shadow that is too dark. Don't rewrite the whole prompt. Keep what works and ask for one change, such as "make the shadow softer" or "remove the second cup."
Tip: Generate a few takes of the same prompt and keep the best one. Small differences in light and angle change how real an image feels.
Realistic image ideas for real work
Product photos
Swap backgrounds, fix the lighting and show every color of a product without booking another shoot. A clean white set for listings and a lifestyle scene for ads can both come from the same photo.
Social posts
Describe a scene that fits your brand and get a finished image in the right shape for each platform. Reusing a prompt that works keeps every post looking consistent.
Concepts and mockups
See a room, a package or a new look before you build or shoot it. Testing five directions on screen is much faster than trying to picture them.
A quick checklist before you download
- Does the light come from one clear direction?
- Do the surfaces have a bit of texture?
- Is there one main subject?
- Are hands, text and edges clean?
- Does the shape fit where you will post it?
If the answer to any of these is no, change that one detail and run it through image to image AI again.
Real-looking images start with real details
Realistic AI images come down to a few habits: describe the light, skip the style words, start from a real photo when you can, and fix one detail at a time. When you are signed in, every result is saved to My Works, so you can download or share it whenever you need it.