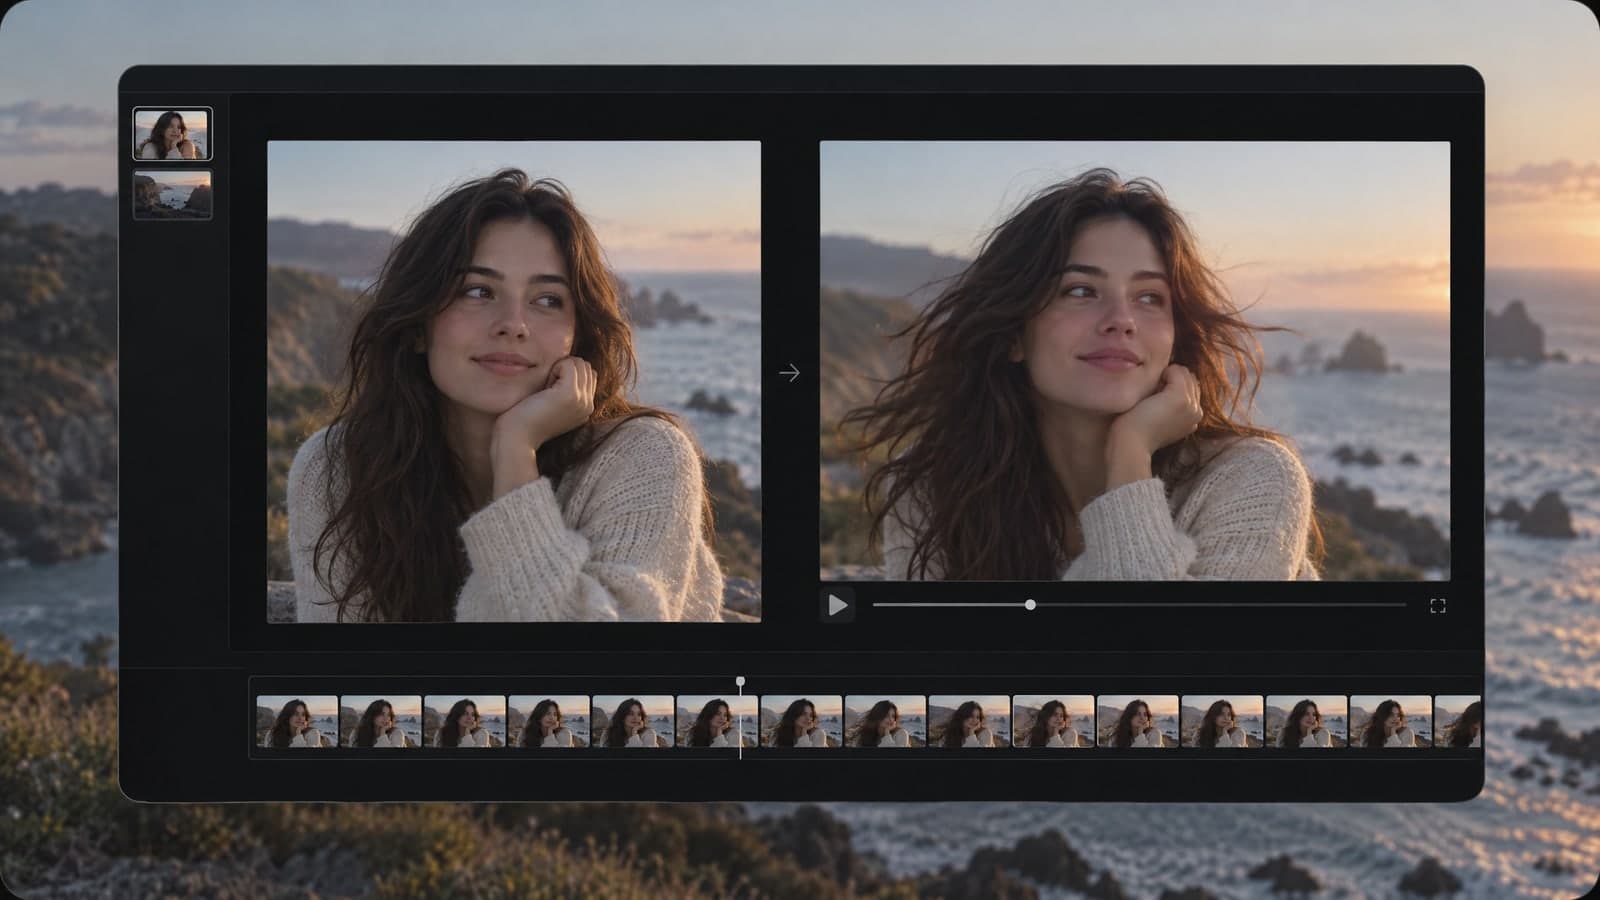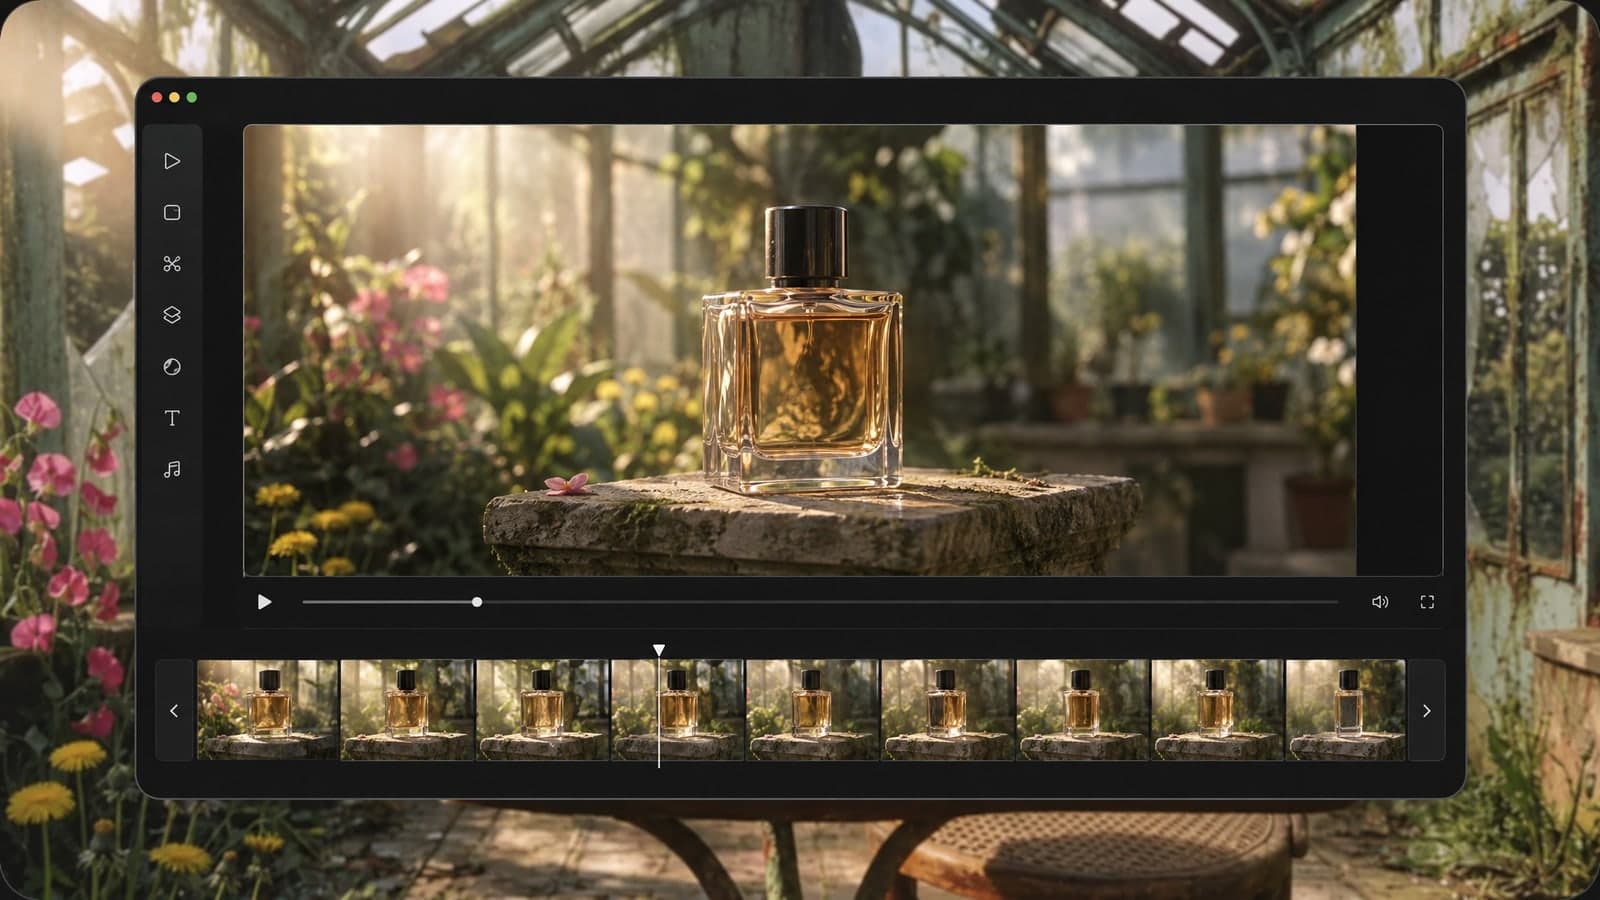
Shooting product video takes real effort: a set, good lights, a camera that moves smoothly and someone who knows how to edit. Many small shops skip it and post still photos instead. Now you can make video from images you already have, turning a single product photo into a short clip with camera movement and sound.
Here is how to pick the right photos, write motion prompts that suit products, and set up each clip for the place you sell or post.
Why turn product photos into video
Motion catches the eye in a scrolling feed in a way a still photo often does not. A short clip can also show what a photo can't: how light plays on a bottle, how a bag looks from the side, how a mug sits on a real table. For many listings and ads, a few seconds of motion is all you need.
The catch has always been the cost of making it. Starting from photos you already have takes most of that work away: you turn a picture into video just by describing how the camera should move.
What you need before you start
- A sharp product photo. One main product, in focus, with good light.
- One motion idea. A slow spin, a push-in or a pan across the scene.
- A place to post it. This decides the shape and length of the clip.
Choose photos that animate well
Not every product photo makes a good video. Picture to video AI works best with photos that have a few things in common:
- The product is the clear center of attention, not one item among many.
- There is some space around it, so the camera can move without cropping it.
- The background has depth, like a table, a shelf or a room, instead of a flat color.
- The photo is sharp. Blurry details only get worse once they start moving.
If all you have is a plain white-background shot, you can first place the product in a new scene with image to image AI, then animate the result.
Motion prompts that suit products
Products look best with calm, controlled movement. Pick one of these and adjust the details:
- Slow rotation: "The camera slowly circles the bottle on the table."
- Push-in: "Slow push-in toward the watch, soft reflections on the glass."
- Pan: "The camera pans from left to right across the shelf."
- In use: "A hand reaches in and picks up the mug, steam rises."
- Mood: "Sunlight moves across the bag, leaves sway in the background."
Stick to one camera move per prompt. If you want two shots, make two clips and join them later. You can test any of these on the image to video page with your own photo.
Set up each clip for where it will go
When you upload a photo, the video keeps the shape of that photo, so crop it to the shape you need first. Then choose the length and resolution:
| Where it goes | Shape | Length | Resolution |
|---|---|---|---|
| Reels, Stories, TikTok | 9:16 | 5 seconds | 1080p |
| Product listings | 1:1 or 4:3 | 5 seconds | 768p or 1080p |
| Website banners, YouTube | 16:9 | 10 seconds | 1080p |
| Quick tests | Any | 5 seconds | 480p |
Every clip comes with sound made together with the picture, so it is ready to post. If you plan to add your own music, you can mute the clip in any video editor.
Step by step
- Upload your product photo to image to video AI.
- Describe one camera move or action.
- Pick 5 or 10 seconds and a resolution, starting with 480p while you test.
- Press Generate. Most videos are ready in one to four minutes.
- Download the MP4 or share a link with your team.
Mistakes to avoid
Asking for too much. A spin, a zoom and a background change in one prompt usually looks chaotic. Keep it to one move per clip.
Using a busy photo. If five products share the frame, the AI cannot tell which one to feature.
Skipping the test run. Try the prompt at 480p first. It finishes faster and uses fewer credits. Then rerun the best version at 1080p.
Tip: Videos for ads, listings and client work count as commercial use, which needs a paid plan or a credit pack.
Turn a whole catalog into clips
Once one product works, the rest go faster:
- Save the prompts that work. Reuse the same camera move across a product line so the clips feel like a set.
- Shoot new photos with video in mind. Leave space around each product and keep the same light across the line.
- Test cheap, finish sharp. Run every new prompt at 480p, then make the final versions at 1080p.
- Keep everything in one place. When you are signed in, every clip is saved to My Works, ready to download or share.
Your product photos can already move
You do not need a studio to make product video. Start with a sharp photo, describe one calm camera move, and pick the shape and length for where the clip will run. A few minutes later you have a video with sound, made from images you already had.